Welcome to GeneratorStop.com! We have all generator related things you need from generator parts, repairs for your broken generator, reviews, tools and more!
Mexico City Generator Repair & Parts
Need generator help in Mexico City? You’re in the right spot. From repairs and parts to smart buying tips, this guide’s got you covered. And hey, we’ll even point you to handy picks like portable generators and generator extension cords.
Read more >>

Nashville Generator Repair & Parts
Keep the lights on and the stress off. Here’s your Nashville go-to for fixing busted generators, finding the right parts, and scoring quick buys like portable generators and all-weather covers.
Read more >>
Washington Generator Repair & Parts
Power flickers in Washington? No worries. Here’s your quick local guide to repair shops, trusted parts dealers, and pro tips—plus smart buys like quiet inverter generators and transfer-switch kits.
Read more >>
El Paso Generator Repair & Parts
Power goes out in El Paso? No worries. Here’s your no-fuss guide to local generator repair, where to snag parts, and some smart upkeep tips—plus handy buys like portable generators and transfer-switch kits.
Read more >>
Las Vegas Generator Repair & Parts
Need a quick generator fix in Vegas? No worries. Here’s your one-stop guide for repair shops, parts counters, and smart tips—plus clutch buys like portable generators and all-weather covers.
Read more >>

How to Maintain and Repair Your Generator for Hurricane Season
Hurricane season is one of the worst times to discover that your generator will not start, keeps shutting off, leaks fuel, trips the overload light, or cannot handle the appliances you need during an outage. A generator is not something you want to test for the first time when the storm is already outside and the power has already gone out. If you depend on a portable or standby generator for emergency power, it should be inspected, serviced, repaired, and tested before hurricane season arrives.
Read more >>
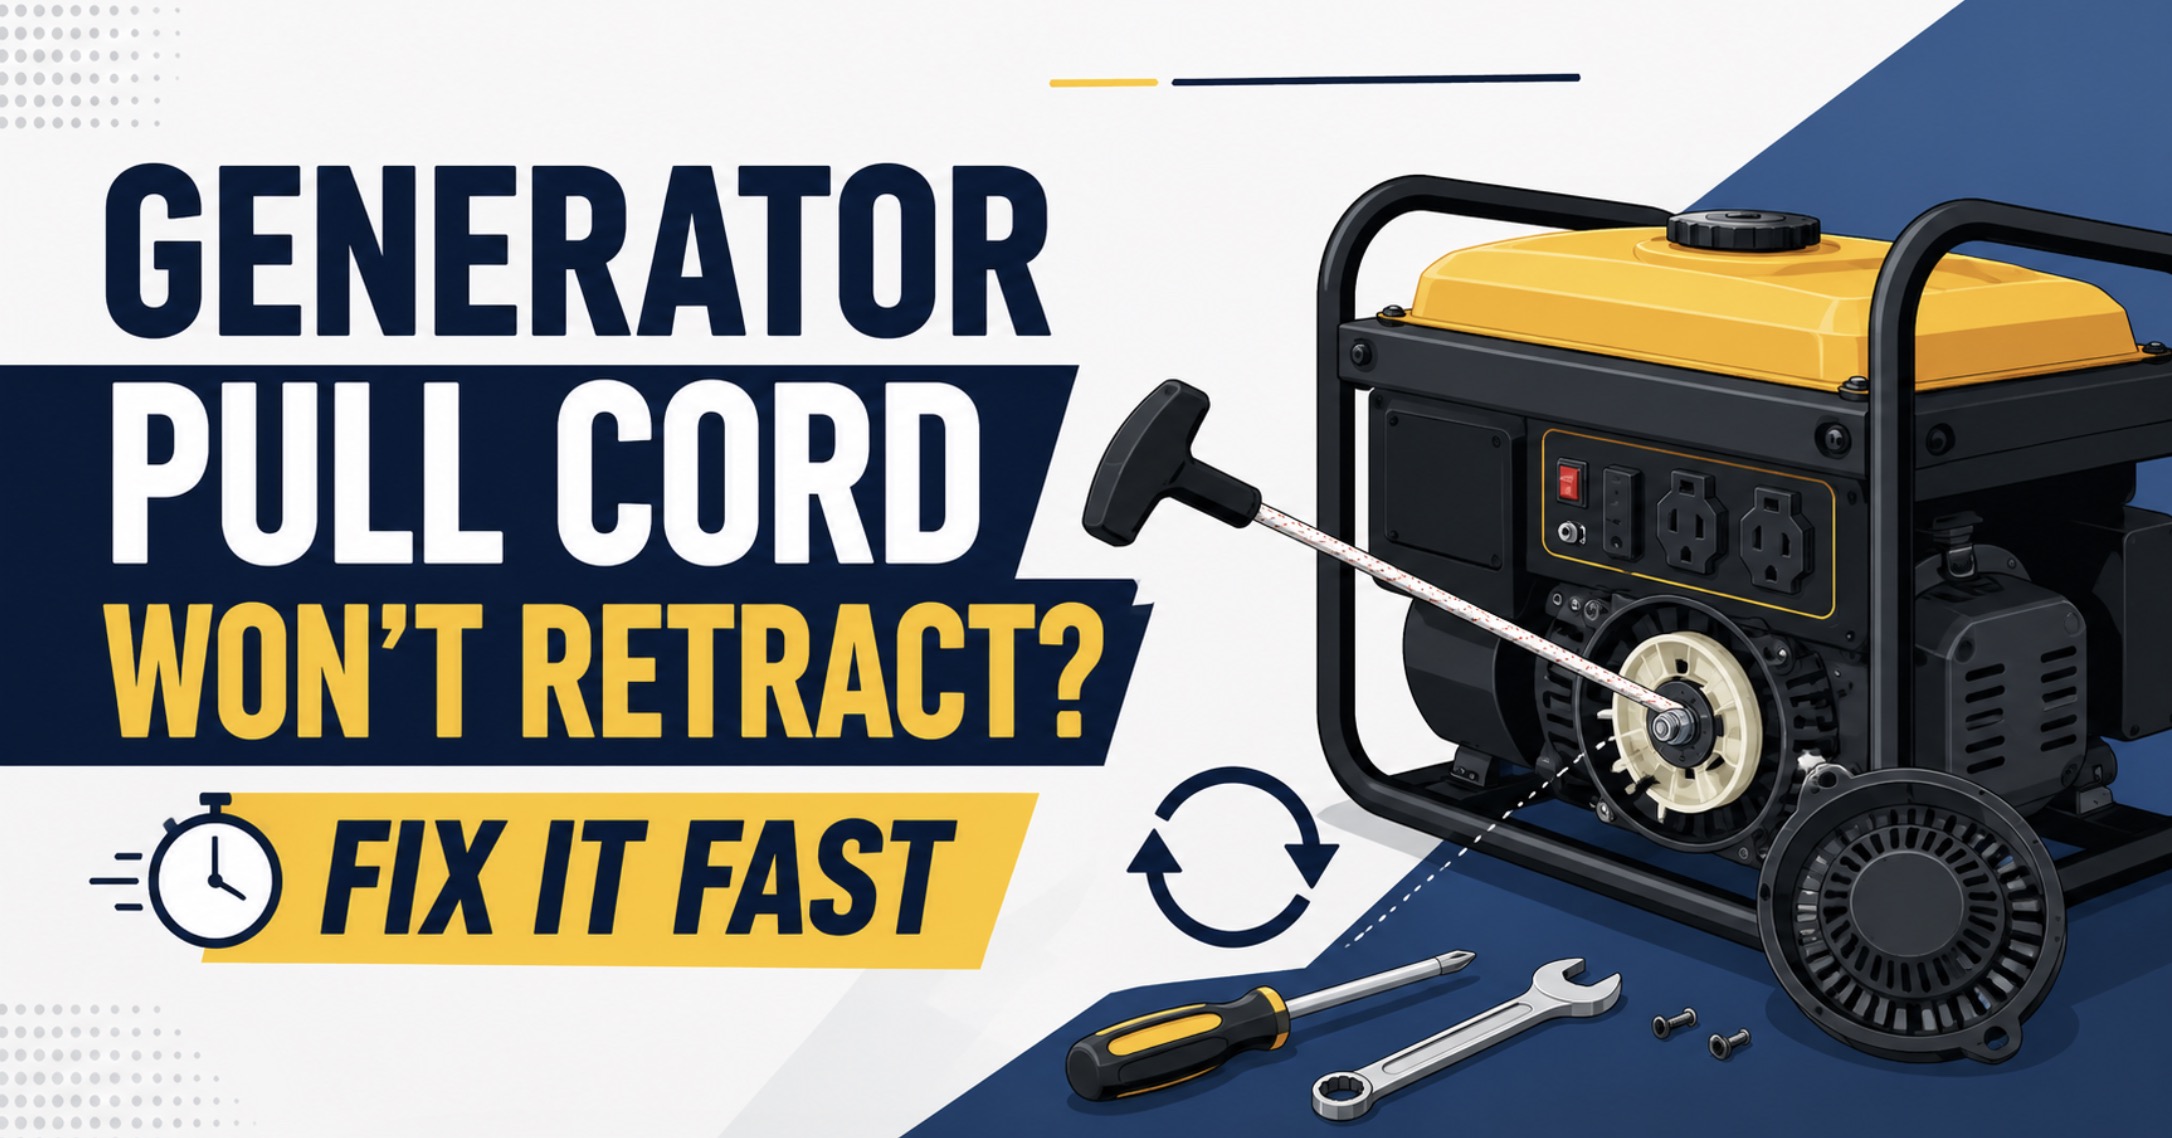
Generator Pull Cord Won’t Retract? Fix It Fast
A generator pull cord that will not retract is one of those problems that feels minor right up until the moment you need the generator and cannot get the starter rope back into the housing. Sometimes the rope hangs out loose and limp. Sometimes it retracts only halfway. Sometimes it feels jammed, tangled, or rough. In most cases, the problem is inside the recoil starter assembly, and the good news is that many of these issues are fixable at home with basic hand tools, patience, and a little care around the spring.
Read more >>
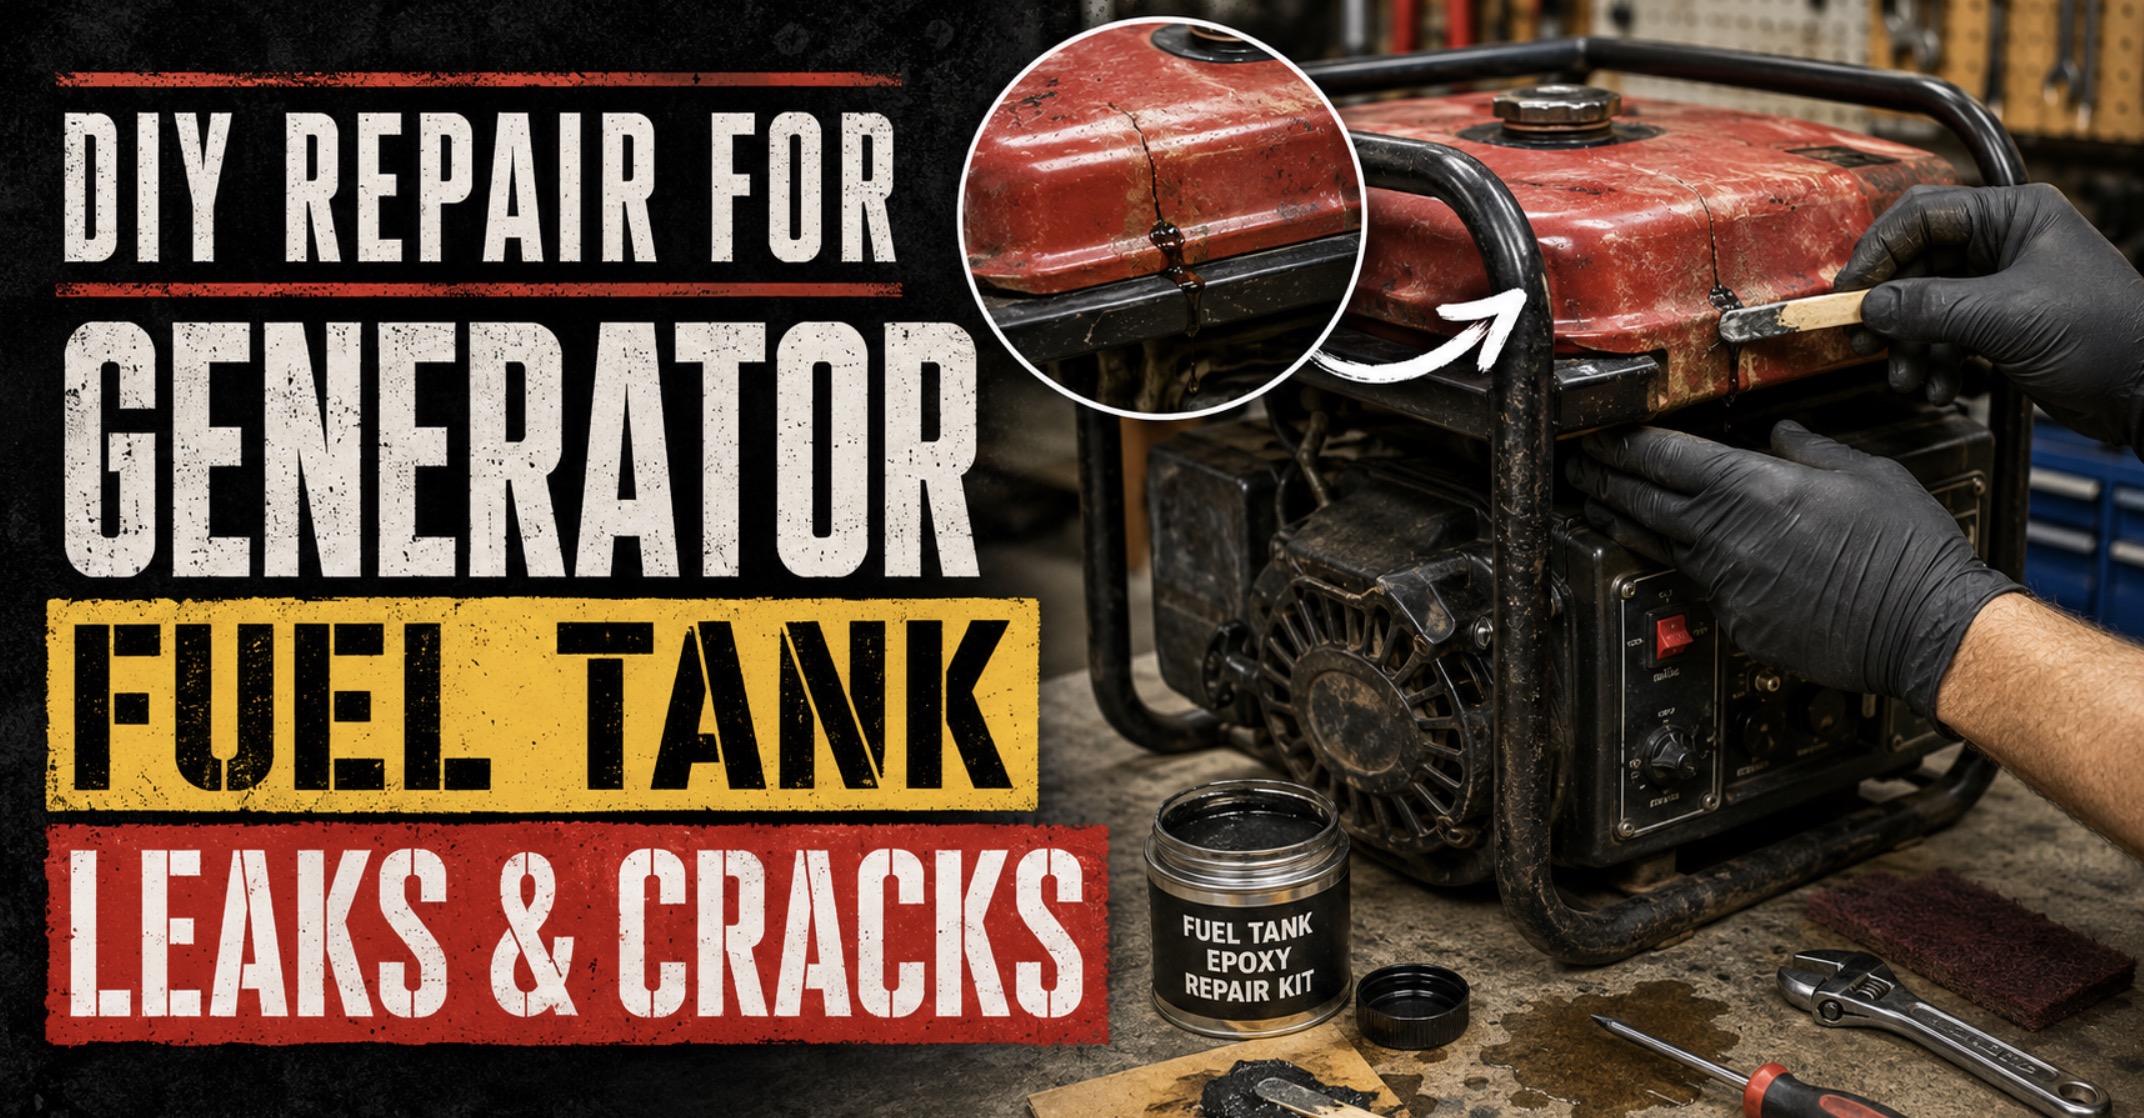
DIY Repair for Generator Fuel Tank Leaks and Cracks
A leaking generator fuel tank is never something to ignore. Even a small seep around a seam, pinhole, mounting point, or crack can turn into a serious fire risk once gasoline vapors build up or fuel reaches a hot engine surface. The good news is that some generator fuel tank leaks can be repaired at home if you identify the exact source of the problem, use the right repair method, and understand when a patch is only temporary versus when full replacement is the smarter choice.
Read more >>